This document outlines the procedure to install XtermVM on a
"headless" (no X11/Wayland) server, yet still get full keyboard and
mouse support. For this demonstration, I am
using Debian 10.
We start with the Debian 10.4 "netinst" CD:
debian-10.4.0-amd64-netinst.iso. This a 352.3MB iso. We create a
virtual machine (I am using VirtualBox) with 512 MB RAM, 4 GB
disk, and 2 cores.
I set the VM to boot off the netinst CD, and when the Debian
installer comes up, I select the Advanced | Expert
mode option:
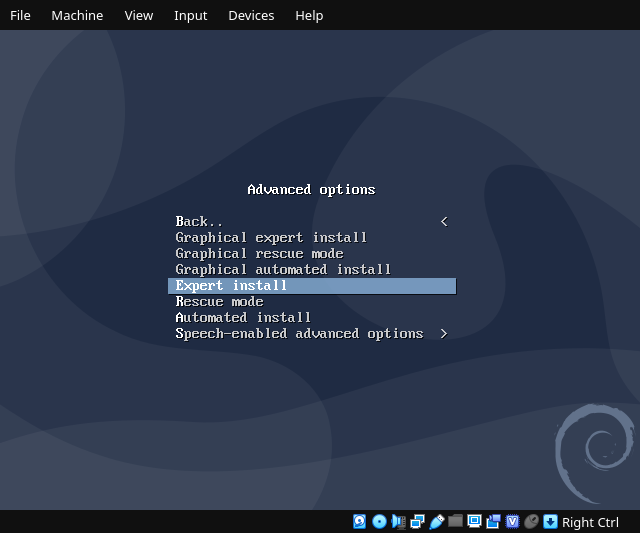
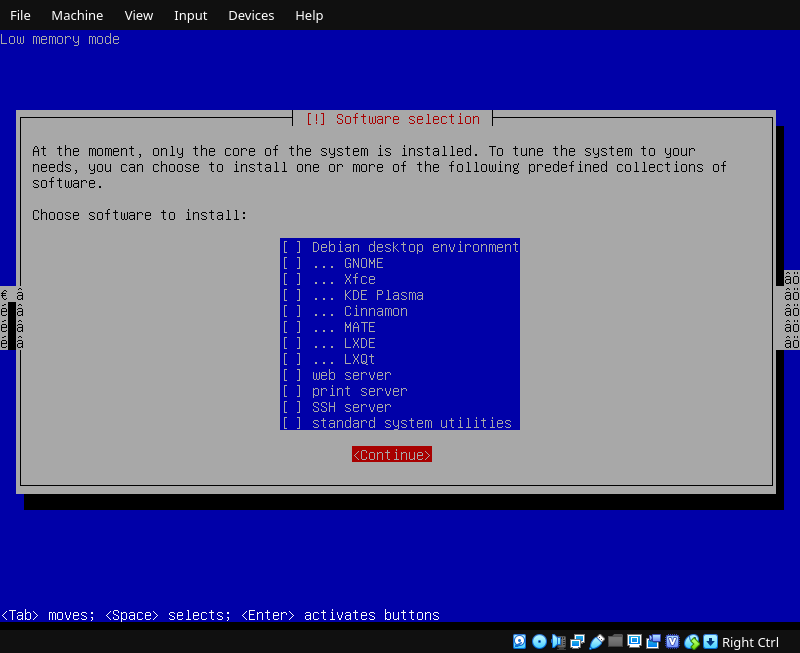
I go through the install options, selecting all default options,
except that for task selection I leave everything blank:
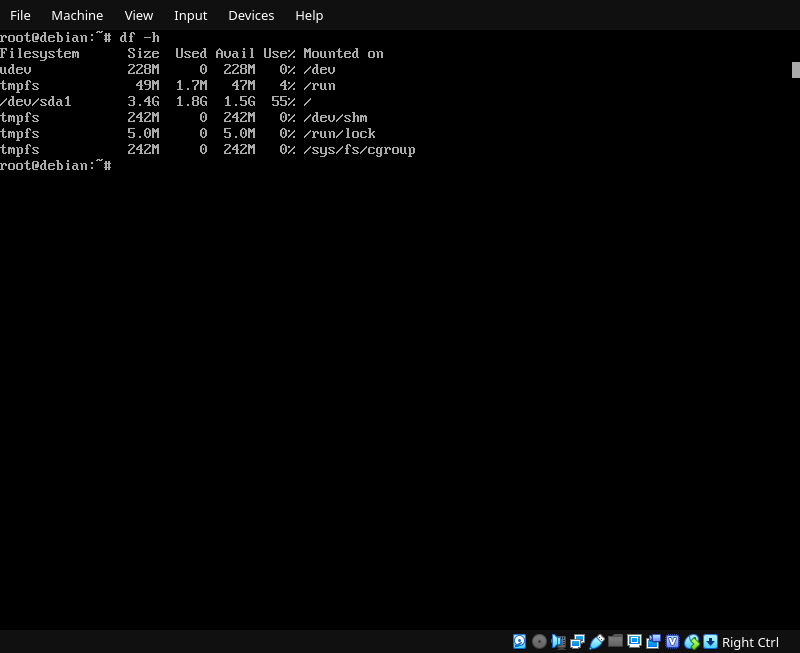
After installation, I have a barebones VM using only ### MB of disk:
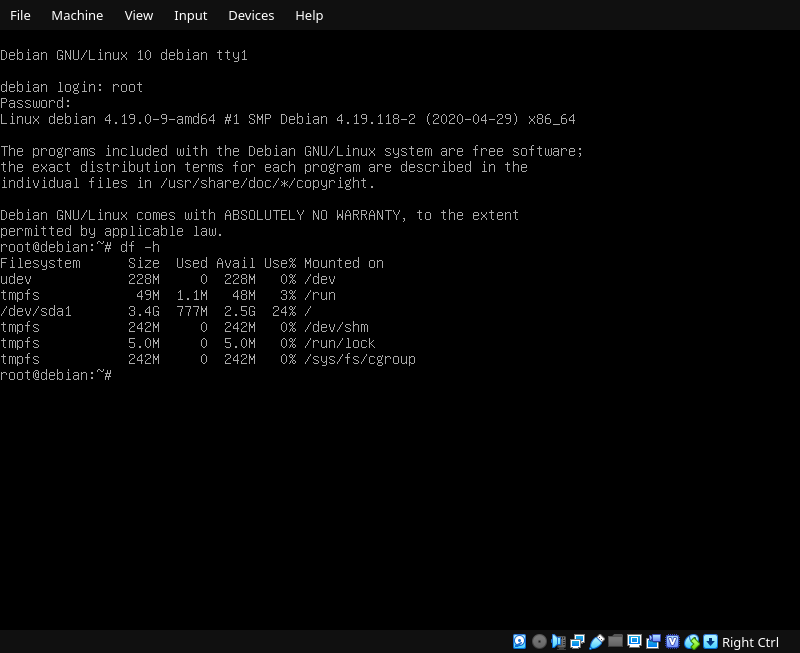
Unfortunately the console font has been set. XtermWM uses a lot
of glyphs that the raw console can do, but not with this font.
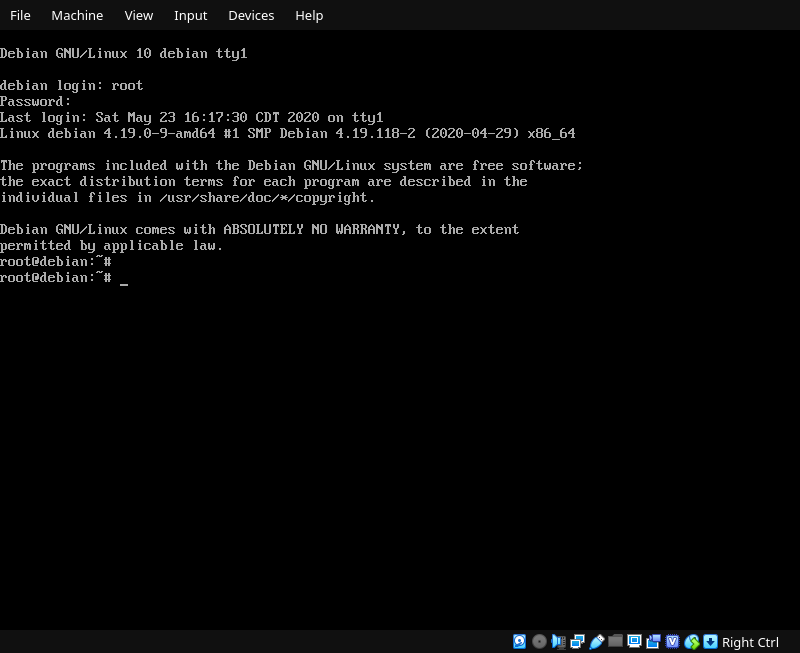
Let's eliminate console-setup:
# apt-get purge console-setup console-setup-linux
Much better:
Now that VM is up, let's get XtermWM and its prerequisites
installed. We are going to install everything from source, which
is the worst-case impact on disk use. We want the following
packages:
- gcc
- libncursesw5-dev
- libgpm-dev
- autoconf
- automake
- default-jdk-headless
- ant
- git
- gpm
- make
So after logging in as root, I execute:
# apt-get install gcc libncursesw5-dev libgpm-dev autoconf automake default-jdk-headless ant git gpm
The prereqs took a chunk of disk, but there is still lots left
over for what we need:
LCXterm is an
ncurses-based terminal "helper" that can add a few missing
features to the raw Linux console. In this case, we want the
mouse to work with XtermWM, and will use LCXterm in its "passthru"
mode to achieve that. Let's grab it and get it installed:
      # git clone https://codeberg.org/AutumnMeowMeow/lcxterm
      # cd lcxterm
      # ./autogen.sh && make install
If all goes well, we will see this:

The next step is installing XtermWM:
# git clone https://codeberg.org/AutumnMeowMeow/xtermwm
# cd xtermwm
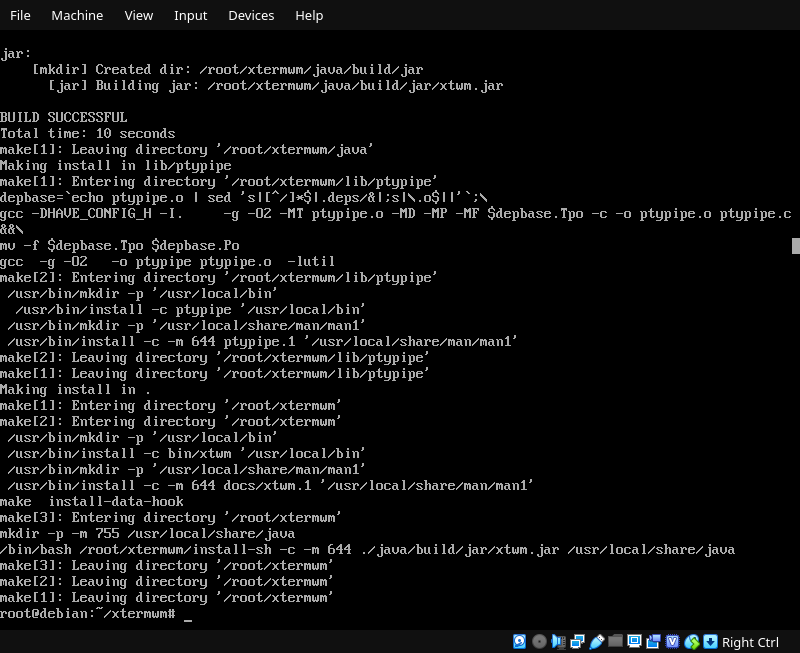
# ./autogen.sh && make install
If all goes well, we will see this:
XtermWM installed the xtwm command. This is a simple
shell script that will call java with the right
arguments to get it running. But since we are on the raw console,
we want LCXterm running first, so that the mouse will work.
# lcxterm -p
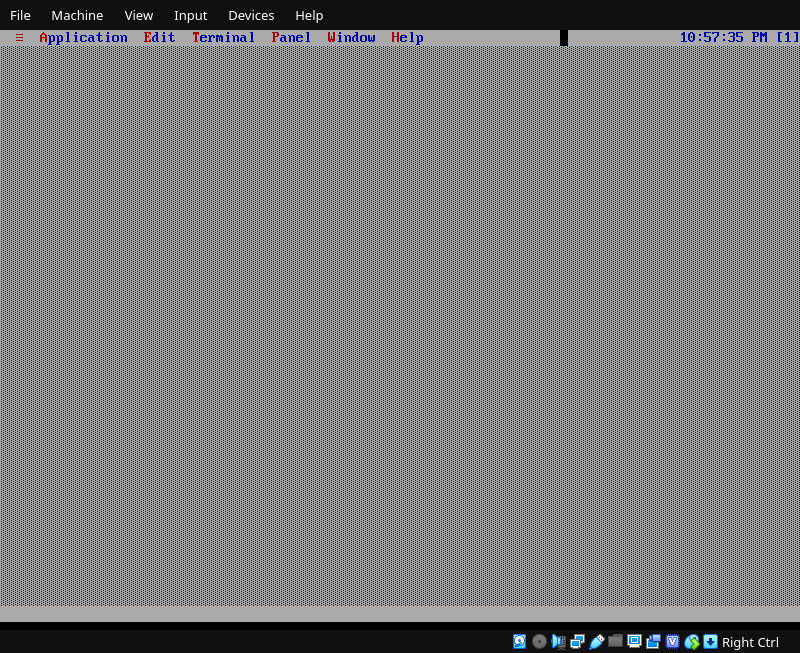
# xtwm
And now we should see something like this:
Let's get a shell running. Click on Application | Programs | Shell:

...and here is the shell:
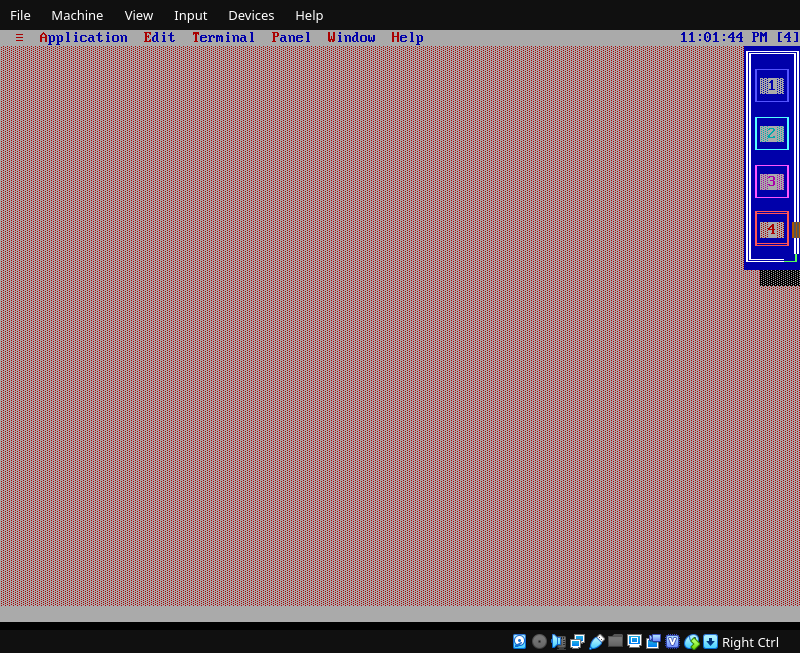
Let's add the desktop pager. Click on Application | Widgets | Desktop Pager:
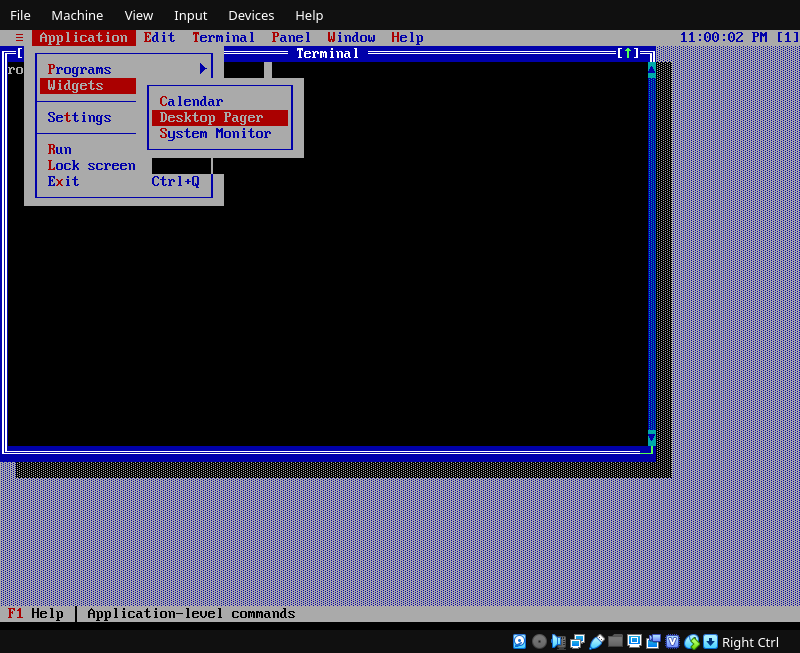
We can click the pager icons and switch to desktop 4:
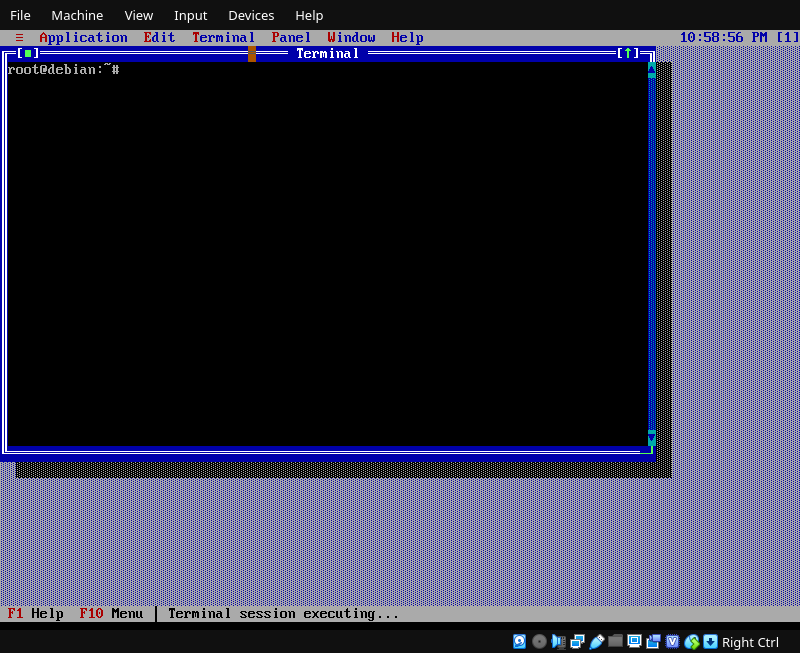
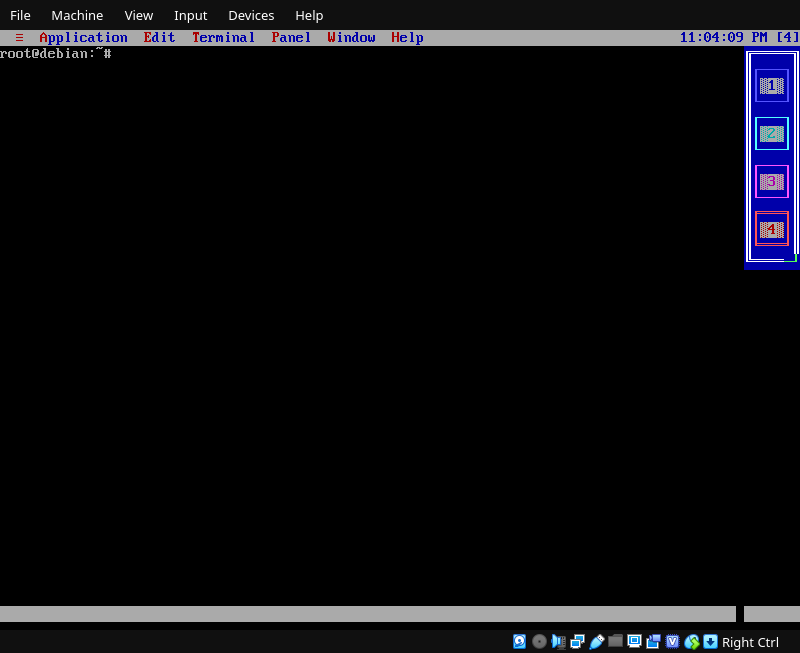
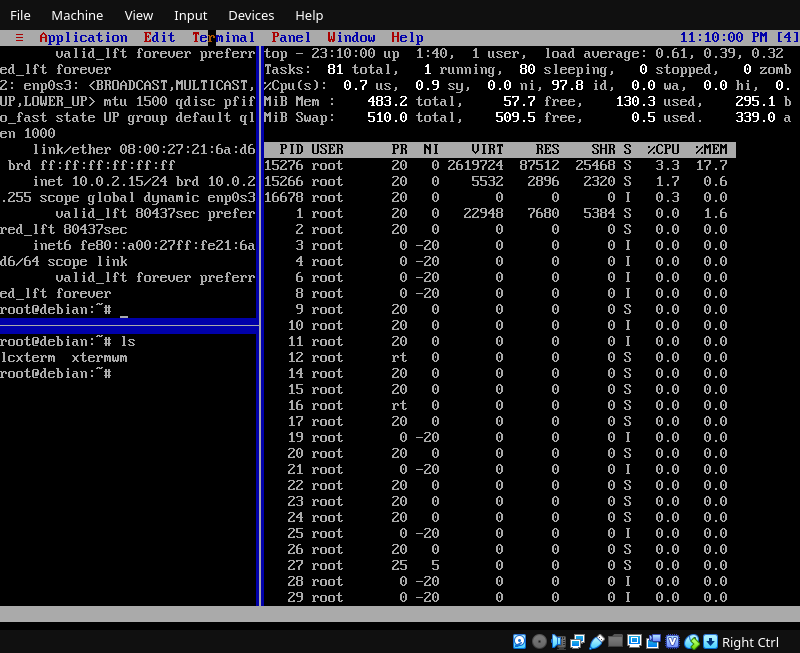
While we are here, let's put some tiled terminals on the desktop.
Click on Terminal | Add root terminal:
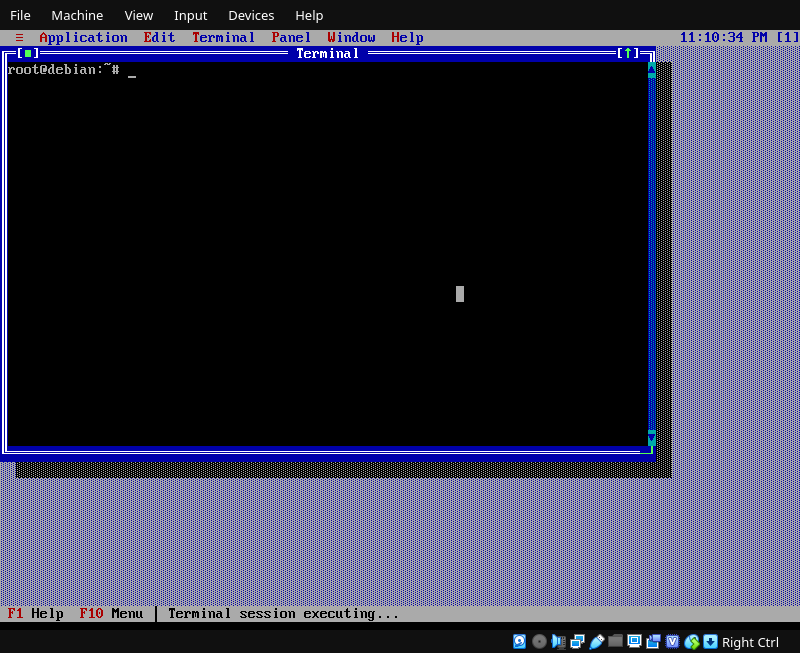
Let's close the pager to clear up the view, and then split the
terminal vertically. Click on
Window | Close and then
Terminal | Vertical split:
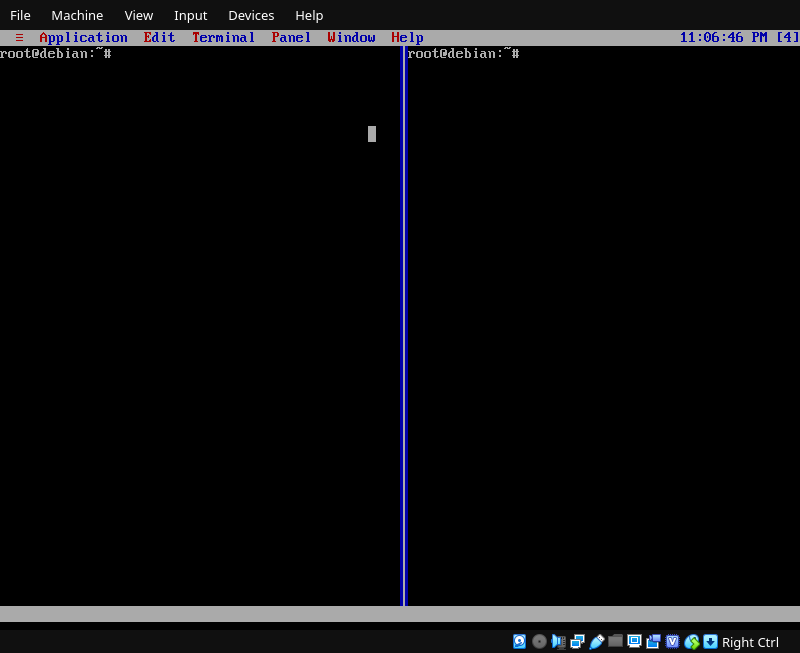
Click the vertical divider and drag the mouse:

Now we can play with the terminals:
Let's go back to desktop 1. Click Window | Next
desktop until we see desktop 1 again:
This was a quick look at XtermWM on the raw Linux console. It can
also do all of its tricks on a real graphical terminal emulator,
or create its own fixed-width display using Swing.

